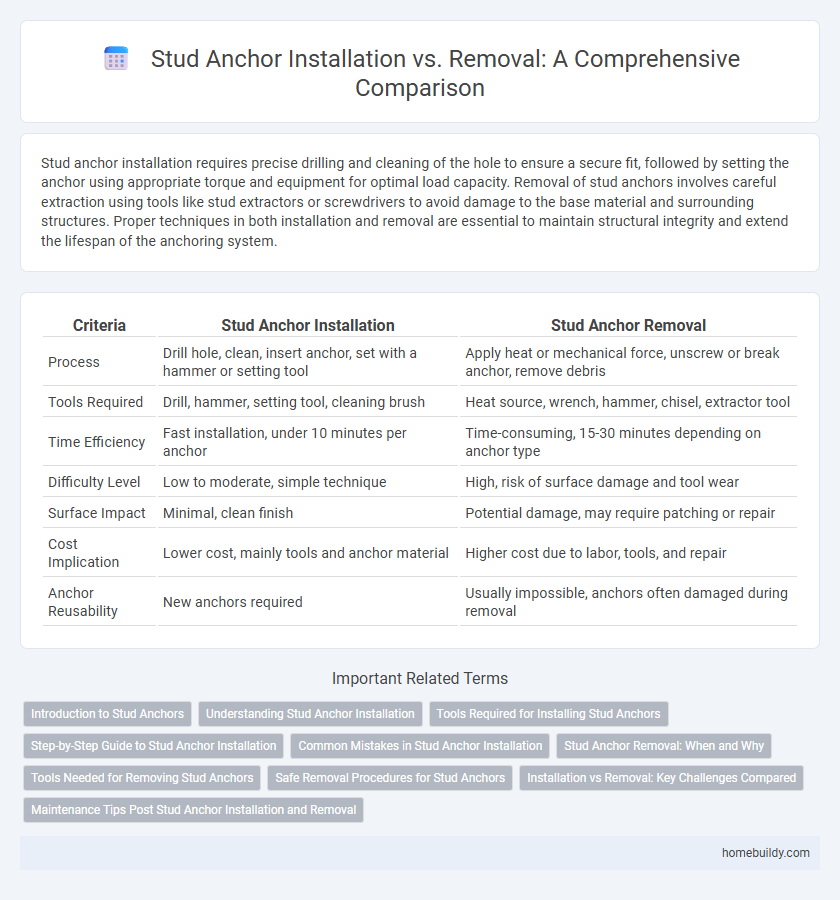
Stud anchor installation requires precise drilling and cleaning of the hole to ensure a secure fit, followed by setting the anchor using appropriate torque and equipment for optimal load capacity. Removal of stud anchors involves careful extraction using tools like stud extractors or screwdrivers to avoid damage to the base material and surrounding structures. Proper techniques in both installation and removal are essential to maintain structural integrity and extend the lifespan of the anchoring system.
Table of Comparison
| Criteria | Stud Anchor Installation | Stud Anchor Removal |
|---|---|---|
| Process | Drill hole, clean, insert anchor, set with a hammer or setting tool | Apply heat or mechanical force, unscrew or break anchor, remove debris |
| Tools Required | Drill, hammer, setting tool, cleaning brush | Heat source, wrench, hammer, chisel, extractor tool |
| Time Efficiency | Fast installation, under 10 minutes per anchor | Time-consuming, 15-30 minutes depending on anchor type |
| Difficulty Level | Low to moderate, simple technique | High, risk of surface damage and tool wear |
| Surface Impact | Minimal, clean finish | Potential damage, may require patching or repair |
| Cost Implication | Lower cost, mainly tools and anchor material | Higher cost due to labor, tools, and repair |
| Anchor Reusability | New anchors required | Usually impossible, anchors often damaged during removal |
Introduction to Stud Anchors
Stud anchors provide a reliable means of fastening in concrete and masonry by embedding a threaded stud into a pre-drilled hole filled with adhesive or epoxy. Installation requires precise hole cleaning and correct adhesive application to ensure maximum load capacity and long-term durability. Removal is typically difficult and often involves concrete repair or replacement, making proper initial installation critical for maintaining structural integrity.
Understanding Stud Anchor Installation
Stud anchor installation requires precise drilling to match anchor dimensions, ensuring a secure fit within concrete or masonry surfaces. Proper installation involves cleaning the hole of debris to maximize adhesion and load-bearing capacity. Understanding torque specifications and curing times for adhesive anchors is essential to achieve structural integrity and safe removal when necessary.
Tools Required for Installing Stud Anchors
Installing stud anchors requires specific tools to ensure secure and accurate placement, including a hammer drill for drilling holes, a rotary hammer for tougher materials, and a setting tool to drive the stud into the base material. Accurate measurement tools like tape measures and levels are essential to position the anchors correctly. Proper personal protective equipment (PPE) such as safety glasses and gloves is necessary to maintain safety during the installation process.
Step-by-Step Guide to Stud Anchor Installation
Stud anchor installation begins with drilling a precise hole into the base material using an appropriately sized drill bit to ensure a snug fit. After cleaning the hole of debris and dust thoroughly, insert the stud anchor and tighten it using a wrench or appropriate tool until it is securely fixed in place. Proper installation guarantees maximum load-bearing capacity and durability, making sure the anchor holds firmly under stress or weight conditions.
Common Mistakes in Stud Anchor Installation
Common mistakes in stud anchor installation include improper hole cleaning, inadequate torque application, and incorrect embedment depth, all of which compromise anchor performance and safety. Failure to remove debris from drilled holes reduces adhesive bond strength, leading to premature anchor failure. Over-tightening or under-tightening the stud anchor causes stress concentration or insufficient clamping force, affecting structural integrity.
Stud Anchor Removal: When and Why
Stud anchor removal is necessary when structural modifications, improper installation, or corrosion compromise the integrity of the anchor. Removing damaged or outdated stud anchors ensures safety and prevents potential failures in concrete and masonry applications. Professional assessment determines the timing of removal to maintain structural stability and facilitate repairs or replacements.
Tools Needed for Removing Stud Anchors
Effective removal of stud anchors requires specific tools such as impact wrenches, cold chisels, and stud extractors to ensure precision and minimize surface damage. Utilizing an angle grinder can assist in cutting through stubborn studs, while a hammer drill aids in loosening embedded anchors. Proper selection and use of these tools optimize removal efficiency and preserve structural integrity.
Safe Removal Procedures for Stud Anchors
Safe removal procedures for stud anchors involve first ensuring the load is fully removed and the area is clear of personnel. Use appropriate tools such as stud extractors or hydraulic pullers to avoid damaging the base material during extraction. Applying controlled incremental force reduces the risk of concrete spalling and ensures structural integrity is maintained throughout the removal process.
Installation vs Removal: Key Challenges Compared
Stud anchor installation often demands precise alignment and adequate drilling depth to ensure optimal load-bearing capacity. Removal poses challenges such as potential damage to structural materials and the need for specialized tools to extract embedded anchors without compromising integrity. Comparing both processes, installation prioritizes accuracy and durability, while removal focuses on minimizing structural impact and restoring surface conditions.
Maintenance Tips Post Stud Anchor Installation and Removal
Proper maintenance after stud anchor installation involves regular inspection for corrosion, tightness, and structural integrity, ensuring safety and longevity. Use appropriate cleaning agents to remove debris without damaging the anchor surface, preventing premature wear or failure. When removing stud anchors, carefully monitor for any damage to the surrounding concrete and reseal if necessary to maintain structural stability.
Stud anchor installation vs removal Infographic

 homebuildy.com